
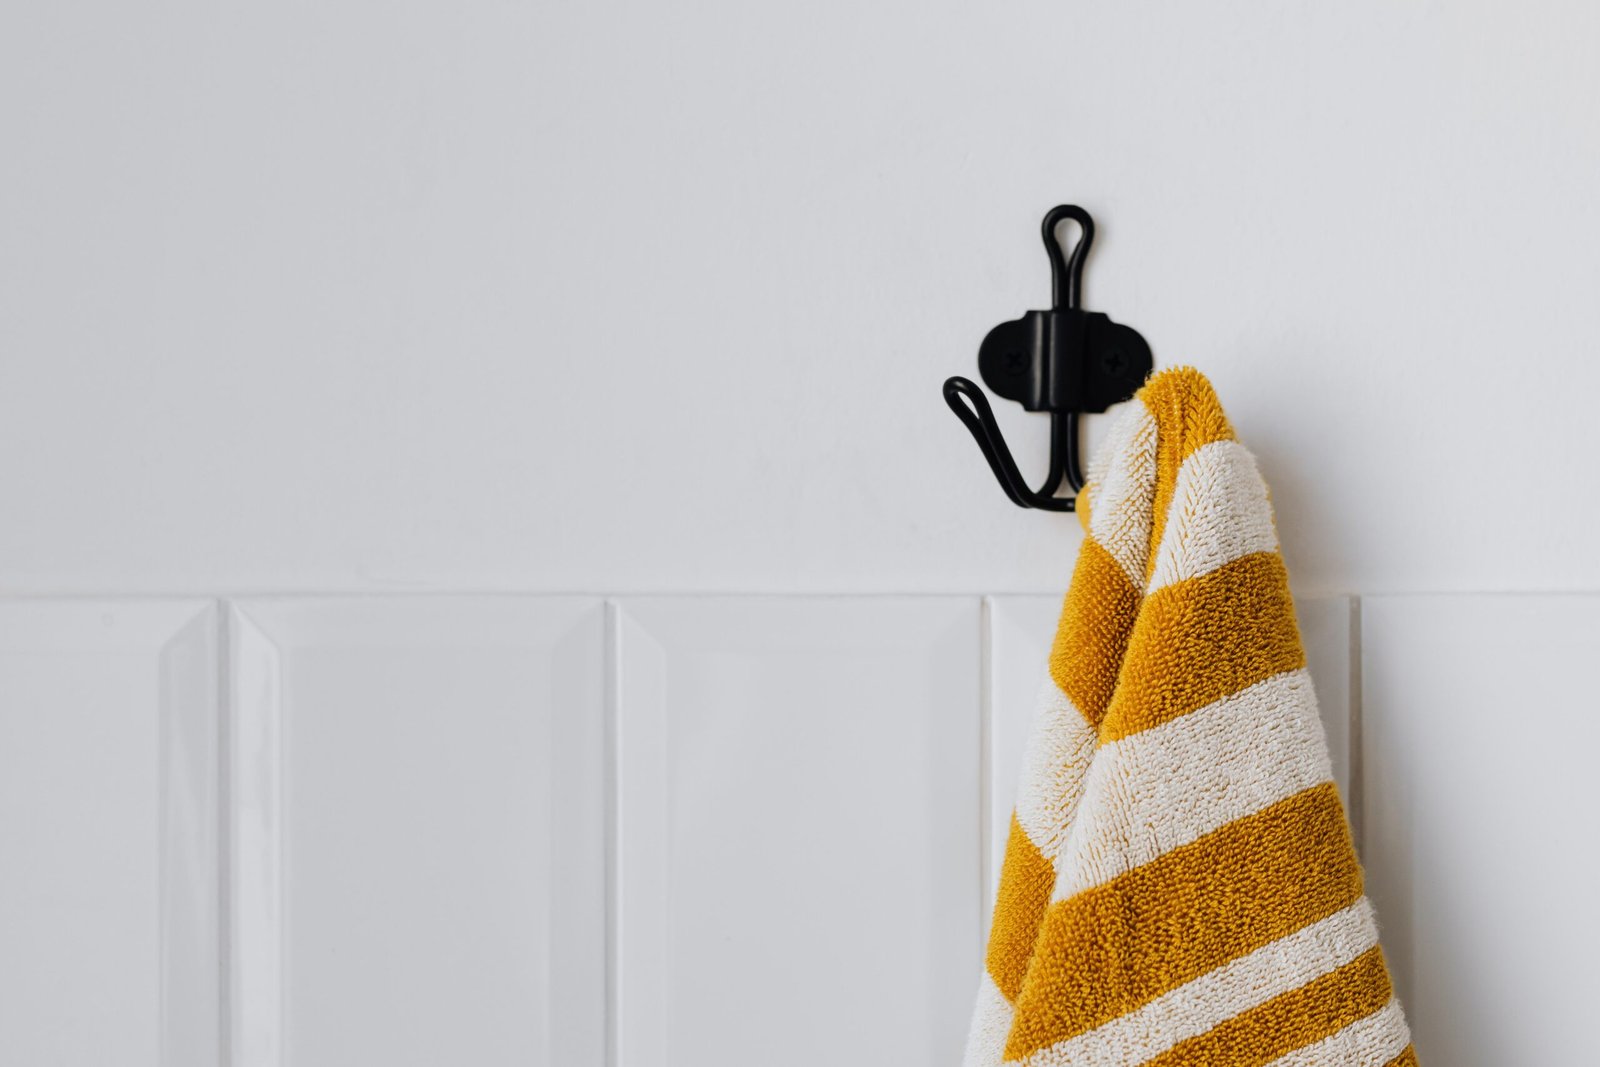
Command hooks don’t damage paint. Removing them incorrectly does, and there’s only one mistake that matters.
You pull the tab straight down, flat against the wall. Not outward, not toward you, not at an angle. That single detail is the difference between a clean wall and a patch of missing paint at your final inspection.
Why the direction matters
The adhesive doesn’t release because you’ve peeled it off. It releases because you’ve stretched it.
Pull the tab downward, and the foam strip elongates often to 12 or 15 inches (30–38cm) before it lets go. That stretching thins the adhesive and breaks its grip across the whole contact area at once, so it comes away from the wall rather than taking the wall with it.
Pull outward, and you’re doing something completely different: levering the adhesive off, with all the force concentrated at one edge. The adhesive is often bonded to the paint more strongly than the paint is bonded to the wall. So the paint loses.
A warning about advice you’ll find online. At least one page currently ranking for this question tells you to peel the strip at a 90-degree angle, and another says to pull from the bottom upward. Both are wrong, both contradict 3M’s own instructions, and following either is precisely how paint ends up on the strip. If a source tells you to pull at an angle, ignore it.
The removal sequence
Take the item off first. For a two-part hook, lift the object away, then push the hook body upward slightly and out to unclip it from the base plate. Some hooks are one piece with no separate base; skip to the next step for those.
Find the tab. It’s the small rounded tongue at the bottom of the strip, sitting flat against the wall.
Pull straight down, slowly. Keep your hand close to the wall so the strip stays parallel to it. Steady pressure, not a yank.
Keep going past the point where it feels wrong. This is where people stop. The strip stretches a long way up to 15 inches, and it feels like it should have released well before then. Keep pulling until it snaps free cleanly.
Put your other hand lightly over the top of the strip as it goes. When it releases, it does so suddenly, and it can catch your fingers.
When the strip snaps
It happens, usually from pulling too fast. You lose the tab, and there’s a patch of foam stuck to the wall with nothing to grip.
Don’t start picking at it and don’t pull harder. Warm the remaining adhesive with a hairdryer on a medium or high setting until the wall feels warm to the touch. Then take a length of unwaxed dental floss, work it behind the foam, and saw gently from side to side to cut it away from the wall.
The heat softens the adhesive, and the floss cuts through the foam rather than levering it. This is 3M’s own recommended fix.
When they’ll damage paint no matter what you do
Correct technique doesn’t save you from these.
Fresh paint. Uncured paint hasn’t fully hardened, and the adhesive will bond to it more strongly than it’s bonded to the wall. 3M’s Australian guidance says to wait 28 days after painting; some regional guidance says seven. Wait the longer period if you can; the cost of waiting is nothing, and the cost of being wrong is a repainted wall.
Old or poorly bonded paint. If the existing paint is flaking, chalky, or was applied over a dirty surface, it’ll come away regardless. Press a piece of tape onto an inconspicuous spot and pull it off. If anything comes with it, don’t use adhesive on that wall.
Wallpaper. It tears. There’s no technique that prevents it, and a torn strip is unambiguously damage rather than fair wear and tear.
Overloaded hooks. A hook carrying more than it’s rated for puts constant shear on the adhesive, which can start lifting the paint before you ever try to remove it.
The weight limits, and the mistake everyone makes
Command publishes ratings per hook, and the clear hooks the ones renters buy because they’re nearly invisible are considerably weaker than the general-purpose ones. The largest clear hook holds around 1.8kg (4 lb), and the medium only about 900g (2 lb). General-purpose utility hooks run from roughly 225g (0.5 lb) up to 6.8kg (15 lb) at the largest size.
You cannot use two hooks to hold something heavier than one is rated for. 3M advises against this explicitly. The weight won’t distribute evenly between them; one takes most of the load, and when it fails, the second one follows immediately. This is the single most common cause of things falling off walls.
If the item is too heavy for the biggest hook you can find, it’s too heavy for adhesive.
Getting them to stick in the first place
Half the removal problems start at installation.
Clean the surface with isopropyl (rubbing) alcohol. Not methylated spirits, which 3M specifically advises against. Not a household spray cleaner, because those leave a residue film that prevents bonding. This is the actual reason most hooks fall off in the first week, and almost nobody knows it.
Then wait a full hour after applying before you hang anything. The bond builds during that hour.
If you’re renting
Photograph each wall before you put anything up, dated. Then photograph the same spot after removal. That before-and-after is what settles a dispute about whether a mark was already there.
If paint does come away, tell your landlord rather than hoping nobody looks. A small touch-up is a minor conversation. A mark discovered at final inspection, after you’ve said nothing, is a different one, and deductions have to account for the paint’s age anyway, so a wall that was already several years old can’t be charged to you at full replacement cost.
More renter-friendly fixings: do Command hooks work on brick? · renter-friendly solutions
Removal method, weight ratings, and surface guidance from 3M’s Command FAQs and product tables. Ratings vary by product line and region; check your packaging.